How to Make a DIY Bath Tub Tray
A full workshop style tutorial for a simple wooden board with underside stop blocks, smooth edges, moisture protection, and careful fit testing.
Start With a Simple and Safe Tray Plan
A useful homemade tray can be one straight board with two small stop blocks fixed underneath. The board bridges the tub, while the blocks sit inside the rims and help prevent sideways movement. This plan avoids complicated joints and makes every measurement easy to check.
Before deciding how to make a bath tub tray, choose the exact position where it will rest. Faucet handles, wall tile, a shower screen, and the curve of the rim can all change the available support.
Tools and Materials for the Basic Build
Use one straight wood board, two straight stop blocks, measuring tape, pencil, square, sandpaper, suitable wood glue, suitable screws, a drill with appropriate bits, a screwdriver, and a finish intended for the chosen wood and indoor damp conditions. Material selection is the first practical decision in how to make a bath tub tray.
Add clamps when available, a clean drop cloth, and compatible non slip pads for the underside. Read every adhesive, finish, pad, screw, and tool instruction before beginning.
Step 1: Inspect the Bathtub Rims
Clean and dry both rims. Check whether each side offers a broad, firm contact area. Rounded, narrow, uneven, or strongly sloped rims may not support a simple board safely. Rim inspection determines whether how to make a bath tub tray is suitable for this tub.
Look at the tub from above and from the foot end. Notice whether one rim is higher than the other or whether sealant, trim, controls, or a wall changes the support point.

Step 2: Measure the Outside Support Span
Measure from the outside edge of one supporting rim to the outside edge of the opposite supporting rim at the exact position you selected. Repeat the measurement nearby because many tubs change width along their length. Good measurements guide how to make a bath tub tray correctly.
When learning how to make a bath tub tray, record the actual span, the flat rim width on each side, the available body depth, and the clearance around the faucet.
Step 3: Decide the Board Length and Depth
Choose a finished board length that covers the measured span and gives dependable contact on both rims. Mark the planned left and right support areas on paper before cutting. Board proportion is central to how to make a bath tub tray without crowding the bath.
Choose depth according to the items you intend to use and the open space inside the bath. A deeper board creates more surface area but may reduce elbow room or make entry more difficult.
Step 4: Plan the Stop Block Positions
The two underside blocks should sit just inside the tub rims when the tray is in its chosen position. They are not meant to wedge tightly against the tub. They provide a physical stop if the tray begins to slide sideways. Stop block placement gives how to make a bath tub tray its basic sliding control.
Place the uncut board across a dry tub and mark the inner edge of each rim on the underside with removable tape or pencil. Remove the board before making permanent marks.

Step 5: Cut the Board and Blocks
Have the lumber store cut the pieces when you do not have suitable tools, training, space, or confidence. Confirm the measurements before the cut because the finished piece must fit the real support span. Safe cutting is a serious part of how to make a bath tub tray.
The United States Consumer Product Safety Commission advises reading tool instructions, using guards, wearing safety goggles, and keeping hands clear of moving parts. Never use corded power tools in damp or wet conditions.
Step 6: Sand Every Face and Edge
Pay close attention to end grain, cut edges, block corners, and any area that may touch the tub. Run a clean cloth over the wood to find rough fibers.
Step 7: Dry Fit Before Drilling
Place the sanded board on the clean dry tub with no accessories attached. Center it and confirm full support on both sides. Dry fitting catches mistakes early in how to make a bath tub tray.
Set the stop blocks on the underside marks and hold them with removable tape while the tray is off the tub. Return the tray carefully and check that the blocks sit inside the rims without forcing the fit.
Step 8: Mark Fastener and Glue Areas
Remove the tray and place it upside down on a protected flat work surface. Mark each block location with a square so both blocks stay parallel. Accurate marks keep how to make a bath tub tray square and easier to assemble.
Keep screw locations away from board edges and from one another according to the fastener and material instructions. Predrilling may reduce splitting, but the correct pilot size depends on the screw and wood.
Step 9: Attach the Stop Blocks
Clamp each block in its marked position. Predrill when required, apply adhesive according to its instructions, and drive screws without crushing the wood or stripping the holes. Careful fastening strengthens the simple plan for how to make a bath tub tray.
Check that no screw tip can reach the top surface. Wipe excess adhesive as directed by its maker. Keep the assembly flat while the adhesive sets.
Step 10: Test the Unfinished Assembly
After the adhesive has set according to the label, place the unfinished tray on the dry tub. Confirm that the board rests on both rims and that the blocks sit inside them. Testing shows how to make a bath tub tray that fits this tub.
Slide the tray gently left and right. The blocks should limit movement without scraping or wedging. Lift the tray rather than dragging it across the rim.
Step 11: Prepare for the Finish
Remove dust using the method recommended for the selected finish. Work in a clean area with ventilation and protect the floor and nearby surfaces. Surface preparation affects the final result of how to make a bath tub tray.
OSHA notes that woodworking dust and finishing chemicals can present health hazards. Follow the finish safety data and label instead of relying on a general homemade recipe.

Step 12: Coat All Exposed Wood
Apply the chosen finish to the top, underside, edges, end grain, stop blocks, and accessible fastener areas. Thin even coats are usually easier to control than heavy pooling, but the label is the final guide. Complete coverage matters when learning how to make a bath tub tray for a damp room.
A water resistant finish helps with normal splashes. It does not turn the tray into an object that can be soaked or left wet across the tub.
Step 13: Let the Finish Cure Fully
Dry to the touch is not always the same as fully cured. Follow the exact cure period and conditions printed by the finish maker before placing the tray in a humid bathroom. Full curing is essential in how to make a bath tub tray ready for bathroom use.
Do not rush this stage because an uncured surface may mark, stick, smell strongly, or react poorly to moisture.
Step 14: Add Compatible Non Slip Pads
Choose pads that are compatible with the tub surface and the cured finish. Some rubber, pigment, or adhesive products can leave marks, so check both manufacturers’ guidance. Pad selection completes the support plan for how to make a bath tub tray.
Place pads within the broad support zones rather than on the narrow outer edge. They should sit flat and should not make the tray rock.
Step 15: Complete the Empty Stability Test
Set the cured tray on clean dry rims. Check the stop block clearance, pad contact, level position, and faucet access. The empty test is the final safety check in how to make a bath tub tray.
A finished tray that moves, bows, rocks, or rests unevenly is not ready for use. Correct the cause or stop using it.

Step 16: Load One Light Item at a Time
Begin with an unbreakable, light item near the center. Watch for flex or movement. Add another item only when the tray remains settled. Gradual loading shows whether how to make a bath tub tray produced a stable result.
Knowing how to make a bath tub tray also means knowing when the layout is full. Open surface space makes reaching, cleaning, and spill control easier.
Optional Book or Tablet Ledge
A simple removable reading support is safer to plan as a separate piece than as a complicated fixed angle. It must fit the book or device and remain stable on the main board. A removable ledge keeps how to make a bath tub tray simpler and easier to inspect.
Keep electronic devices unplugged and away from splashes. A tray does not remove water damage or electrical risk.
Optional Drink Area
A shallow removable coaster can define a drink position without cutting a large opening through the board. Choose a coaster that sits flat and does not slide. A basic coaster is often enough when deciding how to make a bath tub tray.
A wine glass slot requires accurate stem and base measurements, suitable tools, smooth internal edges, and complete resealing. It is not necessary for a safe basic tray.
DIY Tray Size and Feature Comparison
The table below compares three simple build directions. It does not assign universal dimensions because each tub, board, and intended use is different.
| Build direction | Main parts | Useful for | Planning focus |
|---|---|---|---|
| Basic open board | One board and two stop blocks | Books, washcloth, toiletries | Simplest build and cleanup |
| Board with removable reading support | Basic tray plus separate ledge | Book or tablet viewing | Item fit and splash distance |
| Board with defined drink area | Basic tray plus removable coaster | Cup or unbreakable glass | Balance and vessel stability |
How to Clean the Finished Tray
Remove every item before lifting the tray. Wipe it with a soft damp cloth and mild cleaner only when the finish maker allows that cleaner. Good cleaning protects the work invested in how to make a bath tub tray.
Do not soak the board. Dry the top, underside, stop blocks, pads, edges, and joints. Leave the tray where air can reach all faces.
When to Repair or Retire the Tray
Stop using the tray when a block loosens, a screw moves, the board warps, the finish peels, a crack grows, or the tray no longer sits flat. Regular inspection remains part of how to make a bath tub tray dependable over time.
Small finish wear may require cleaning, sanding, and recoating according to the product directions. Structural cracks and loose joints need proper repair before reuse.
How the DIY Plan Compares With a Purpose Built Caddy
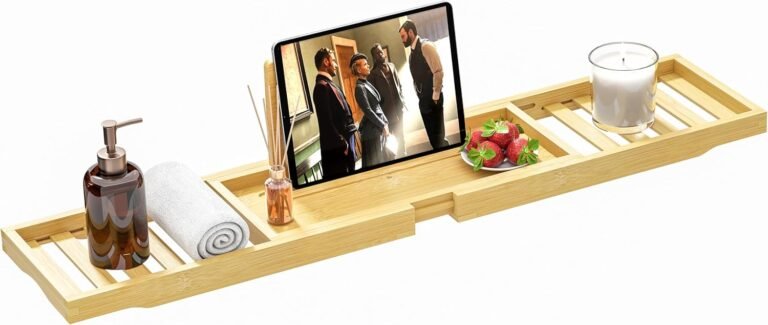
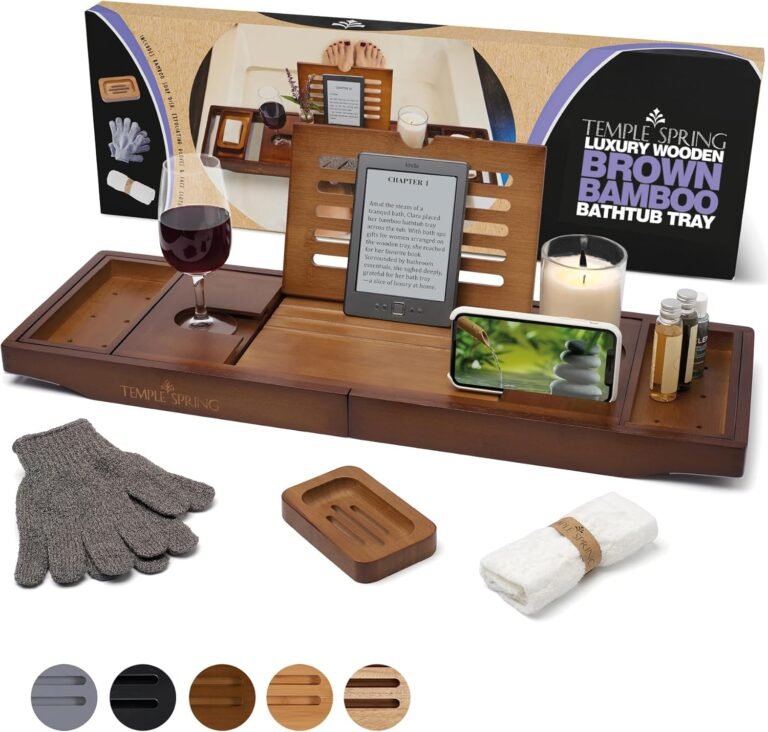
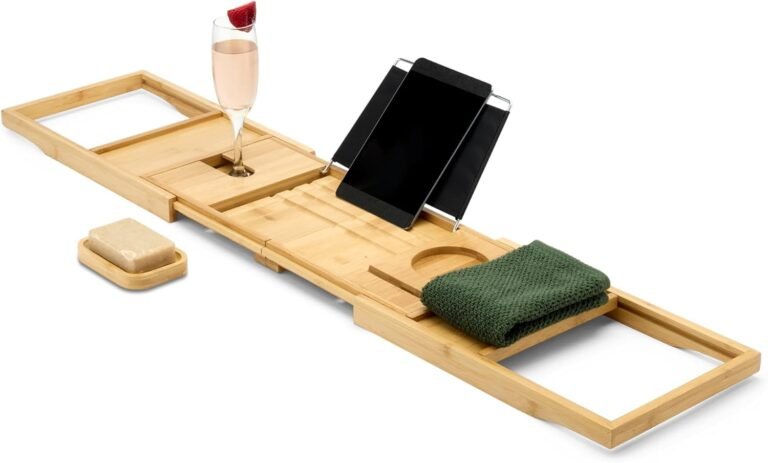
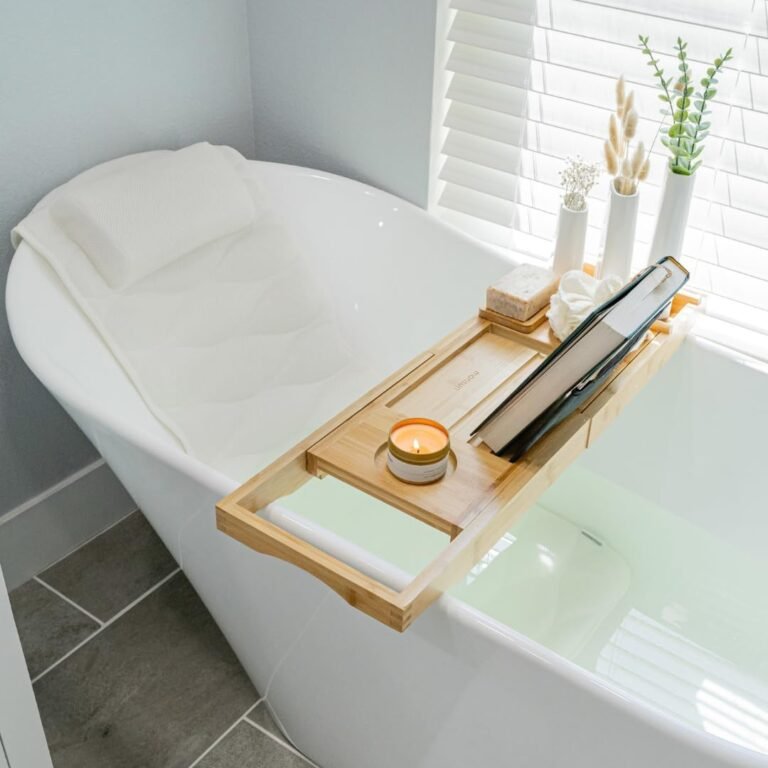
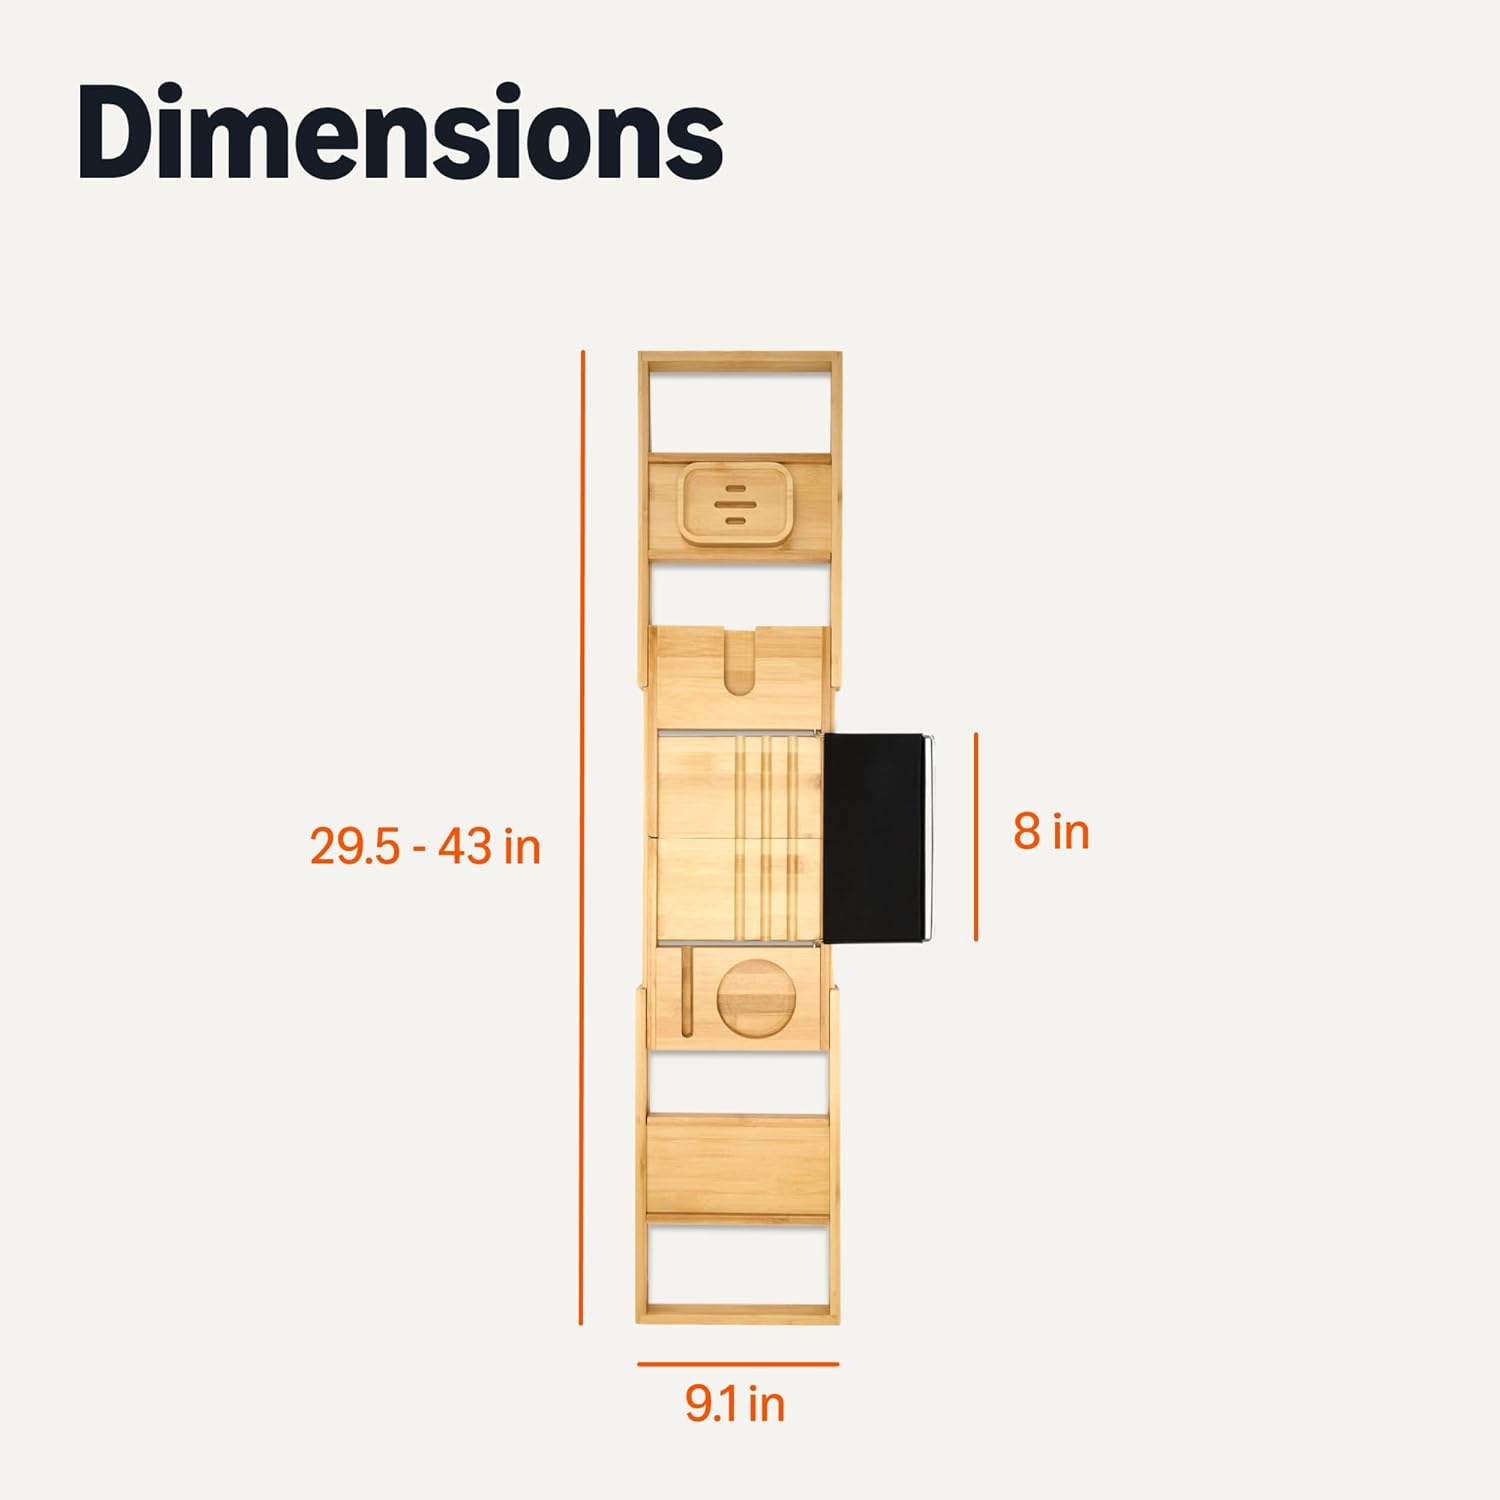
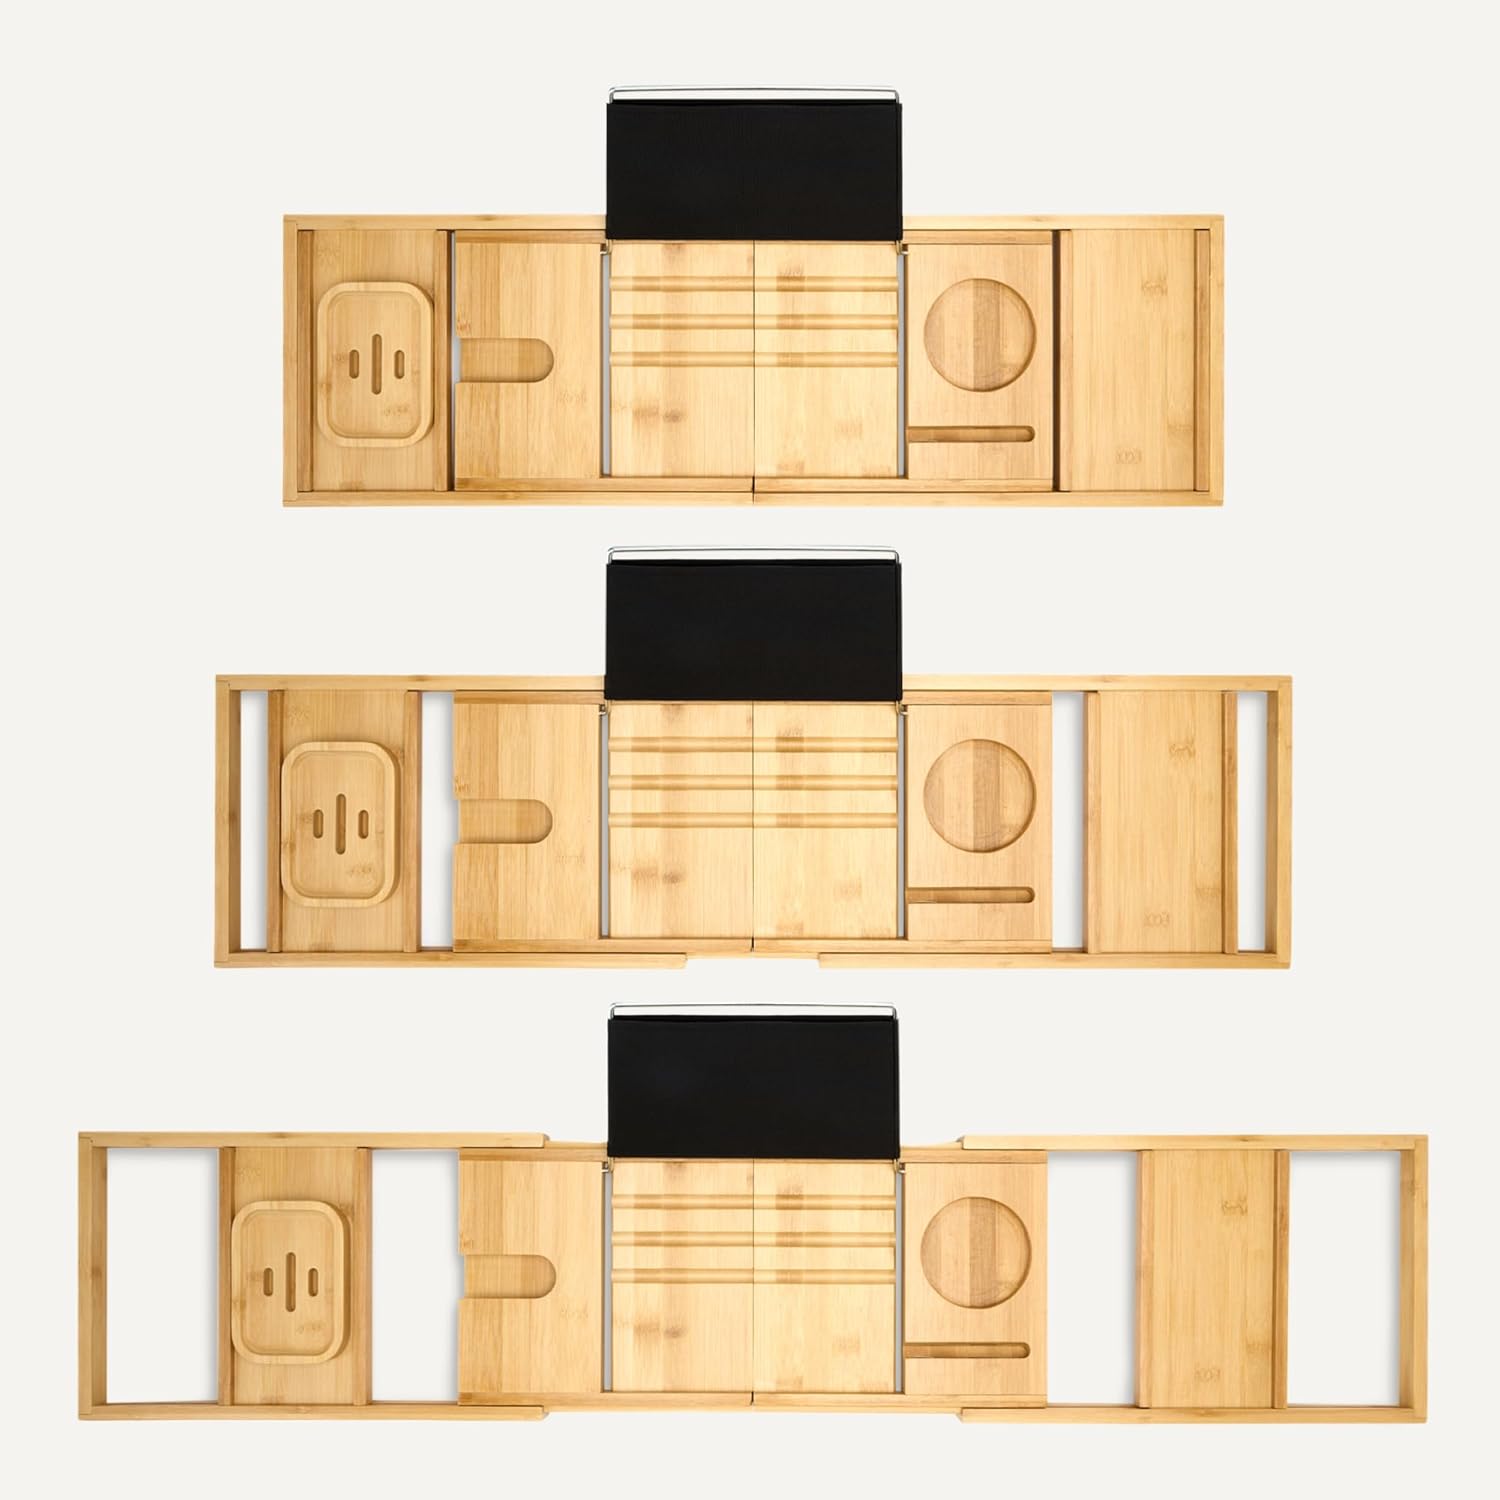
A basic homemade board offers a custom span and open surface. A purpose built adjustable caddy may include sliding sections, non slip grips, a book or tablet stand, phone storage, and drink areas.
BathtubTray.com currently focuses on adjustable bamboo designs for most standard tubs. The Bathtub Tray bamboo design story describes its material and everyday function.
Review the bathtub tray fit and care questions before comparing a homemade board with an adjustable design.
Questions to Ask Before You Start
Confirm the tub span, flat rim width, board condition, stop block clearance, storage space, tool access, finish compatibility, cure time, and the items you plan to place on the tray.
Use the product question form when you need current information about the site’s ready made bamboo caddies.
Conclusion
A dependable homemade tray begins with the bathtub, not the board. Measure the exact support point, choose sound material, use stop blocks, smooth every edge, follow tool instructions, coat all exposed wood, allow full cure time, and test the tray empty.
Keep the finished piece dry, balanced, and limited to light bath essentials. It is never a safety rail or seat.
This full tutorial explains how to make a bath tub tray while keeping the design simple enough to inspect, clean, store, and repair.
Prefer a Ready Made Adjustable Design?
Check the current shop page after comparing your tub measurements with the available product information.
Frequently Asked Questions
What materials are best for a DIY bathtub tray?
Use a straight, dry board that is suitable for cutting, sanding, and finishing, plus two stop blocks, compatible screws, suitable wood glue, non slip pads, and a finish intended for the chosen wood and damp indoor use. Avoid cracked, warped, decayed, or splintered material.
How do I measure my bathtub for a tray?
Measure the outside support span at the exact tray position and repeat the measurement nearby. Also record the flat rim width, faucet clearance, body depth, and available storage space. Do not rely on a universal amount added to the width.
How thick should the wood be?
There is no single thickness for every project. Suitability depends on species, board quality, span, depth, grain, fasteners, and intended light load. Ask a lumber supplier or experienced woodworker when uncertain.
How do I prevent the bathtub tray from sliding?
Fit two smooth underside stop blocks just inside the tub rims and add compatible non slip pads within the support areas. Clean and dry the rims before every use and stop using the tray if it still moves.
Do I need to waterproof a wooden bathtub tray?
Apply a finish intended for the wood and damp indoor conditions to every exposed face and edge. Follow the label for preparation, coats, ventilation, and cure time. No finish makes a wooden tray suitable for soaking.
Can I make a bathtub tray without power tools?
Yes. A lumber store or woodworker can cut the board, blocks, and pilot holes. You can sand by hand, apply finish, and hand drive suitable screws, but every step still requires correct measurements and safe tool use.
How can I add a tablet or book holder?
A removable support can be simpler than a fixed angled stand. It must fit the item, stay stable, and keep the device or book away from splashes. Reseal any exposed wood created by later modifications.
Can I add a wine glass holder?
You can, but a stem slot needs accurate measurements, suitable cutting tools, smooth internal edges, and complete resealing. A removable coaster or stable flat drink area is easier for a basic build.
How long does it take to make a DIY bathtub tray?
Cutting and assembly time varies with the tools and design. The finish often controls the schedule because each product has its own coat and full cure instructions. Do not use the tray before the finish has fully cured.
How should I clean and maintain the tray?
Remove all items, wipe with a soft damp cloth, use only cleaners allowed by the finish maker, and dry every face, block, pad, and joint. Repair worn finish and stop using the tray when it warps, cracks, or loosens.