How to Measure Your Tub for a Bath Tray Step by Step
A clear method for standard, freestanding, narrow rim, and wall side tubs, with a worksheet for comparing tray dimensions.
How to Measure Your Tub for a Bath Tray
Learning how to measure tub for bath tray fit starts with the places where the tray will actually rest. A bathtub may look wide from above yet offer only narrow or curved support points. For how to measure tub for bath tray fit, the right number is not always the widest outside dimension, and it is rarely the open water space alone.
This guide follows a practical order. You will choose the tray position, measure the usable span, check the rim on both sides, note walls and fixtures, and compare the result with a tray adjustment range.
Before You Reach for the Tape
Before you learn how to measure tub for bath tray fit, clear the tub rim. Remove bottles, towels, soap dishes, and anything that hides the true edge. Dry the surface so the tape stays in place.
Decide where the tray would sit while you are using the bath. Many tubs change width from one end to the other, so measuring at the wrong point can create a neat but useless number.
Open nearby doors and shower screens. Check whether a cabinet, wall shelf, or faucet will affect the final position.

Tools That Make the Job Easier
The National Institute of Standards and Technology explains standard length units, and a rigid metal tape measure is usually easiest because it can bridge the tub without sagging. A flexible sewing tape can follow curves, but it may dip into the tub and shorten the reading.
Keep a phone note or card nearby. Label every number. A single unlabeled measurement can later be confused with the inside opening, the outside span, or the tray length.
A straightedge or piece of stiff cardboard helps when the rim is rounded. It shows where a tray end would make contact.
Step 1: Pick the Exact Tray Position
Stand beside the tub and imagine the tray in use. Check whether the faucet is mounted on the rim, wall, or floor. Make sure the position does not cover controls or sit directly below a shower spray.
For a built in tub, the most comfortable point may be near the middle or slightly toward the backrest. For a freestanding tub, choose a point where both rims provide useful support.
Mark the intended position with removable tape if the rim finish allows it. This keeps later measurements aligned.

Step 2: Measure the Outside Resting Span
Place the tape straight across the tub from the outside edge of one supporting rim to the outside edge of the opposite rim. Keep it level and do not let it dip toward the water area.
This is the main number for most across tub trays. It tells you how far the tray must bridge while reaching both supports.
When checking how to measure tub for bath tray fit, compare this number with the published minimum and maximum width. Record the result in the same units used on the product page.
Step 3: Measure the Contact Width on Each Rim
To understand how to measure tub for bath tray support, measure how much flat or gently curved surface is available on the left rim and the right rim. A tray can be long enough yet unstable if each end rests on a very narrow strip.
Write the two contact widths separately. They may differ when one side is against a wall or includes tile trim.
Look for raised seams, grab handles, overflow covers, or fittings that interrupt the support area.

Step 4: Check Whether Both Rims Are Level
For how to measure tub for bath tray level, look across the two rims from the side. They should be close enough in height for the tray to sit level. Tile, sealant, or a built in shelf can make one side higher.
Use a small level or a straightedge. A slight difference may be manageable with the tray pads, but a large step can cause rocking.
An adjustable tray changes width. It does not correct a major height difference.
Step 5: Measure Wall Clearance
A wall side tub needs more than a width reading. Measure the gap between the wall and the point where the tray end will sit. An extension arm or raised end may need room to move.
Include tile trim, shelves, window ledges, and fittings that project into the space.
Understanding how to measure tub for bath tray use against a wall prevents a common problem: a tray reaches the far side but cannot sit flat because the wall blocks one end.

Step 6: Check Faucets and Controls
For how to measure tub for bath tray clearance, record the distance from the tray line to the faucet, handles, diverter, handheld shower cradle, and other fittings. Move the controls through their full range.
Check height as well as distance. A tall faucet may clear a flat tray but hit a raised book stand.
Leave a practical gap. A tray that touches a faucet can be pushed sideways during use.
Step 7: Measure a Curved or Freestanding Tub
Freestanding tubs often curve inward, outward, or downward. Measure at the exact intended position, then repeat the reading a few inches forward and backward.
Those extra numbers show how quickly the tub changes width. They also help identify a position with better support.
Place a straightedge across the rims to confirm that both ends touch at the same time. This is especially helpful when learning how to measure tub for bath tray use on sculpted tubs.
Step 8: Compare the Working Range
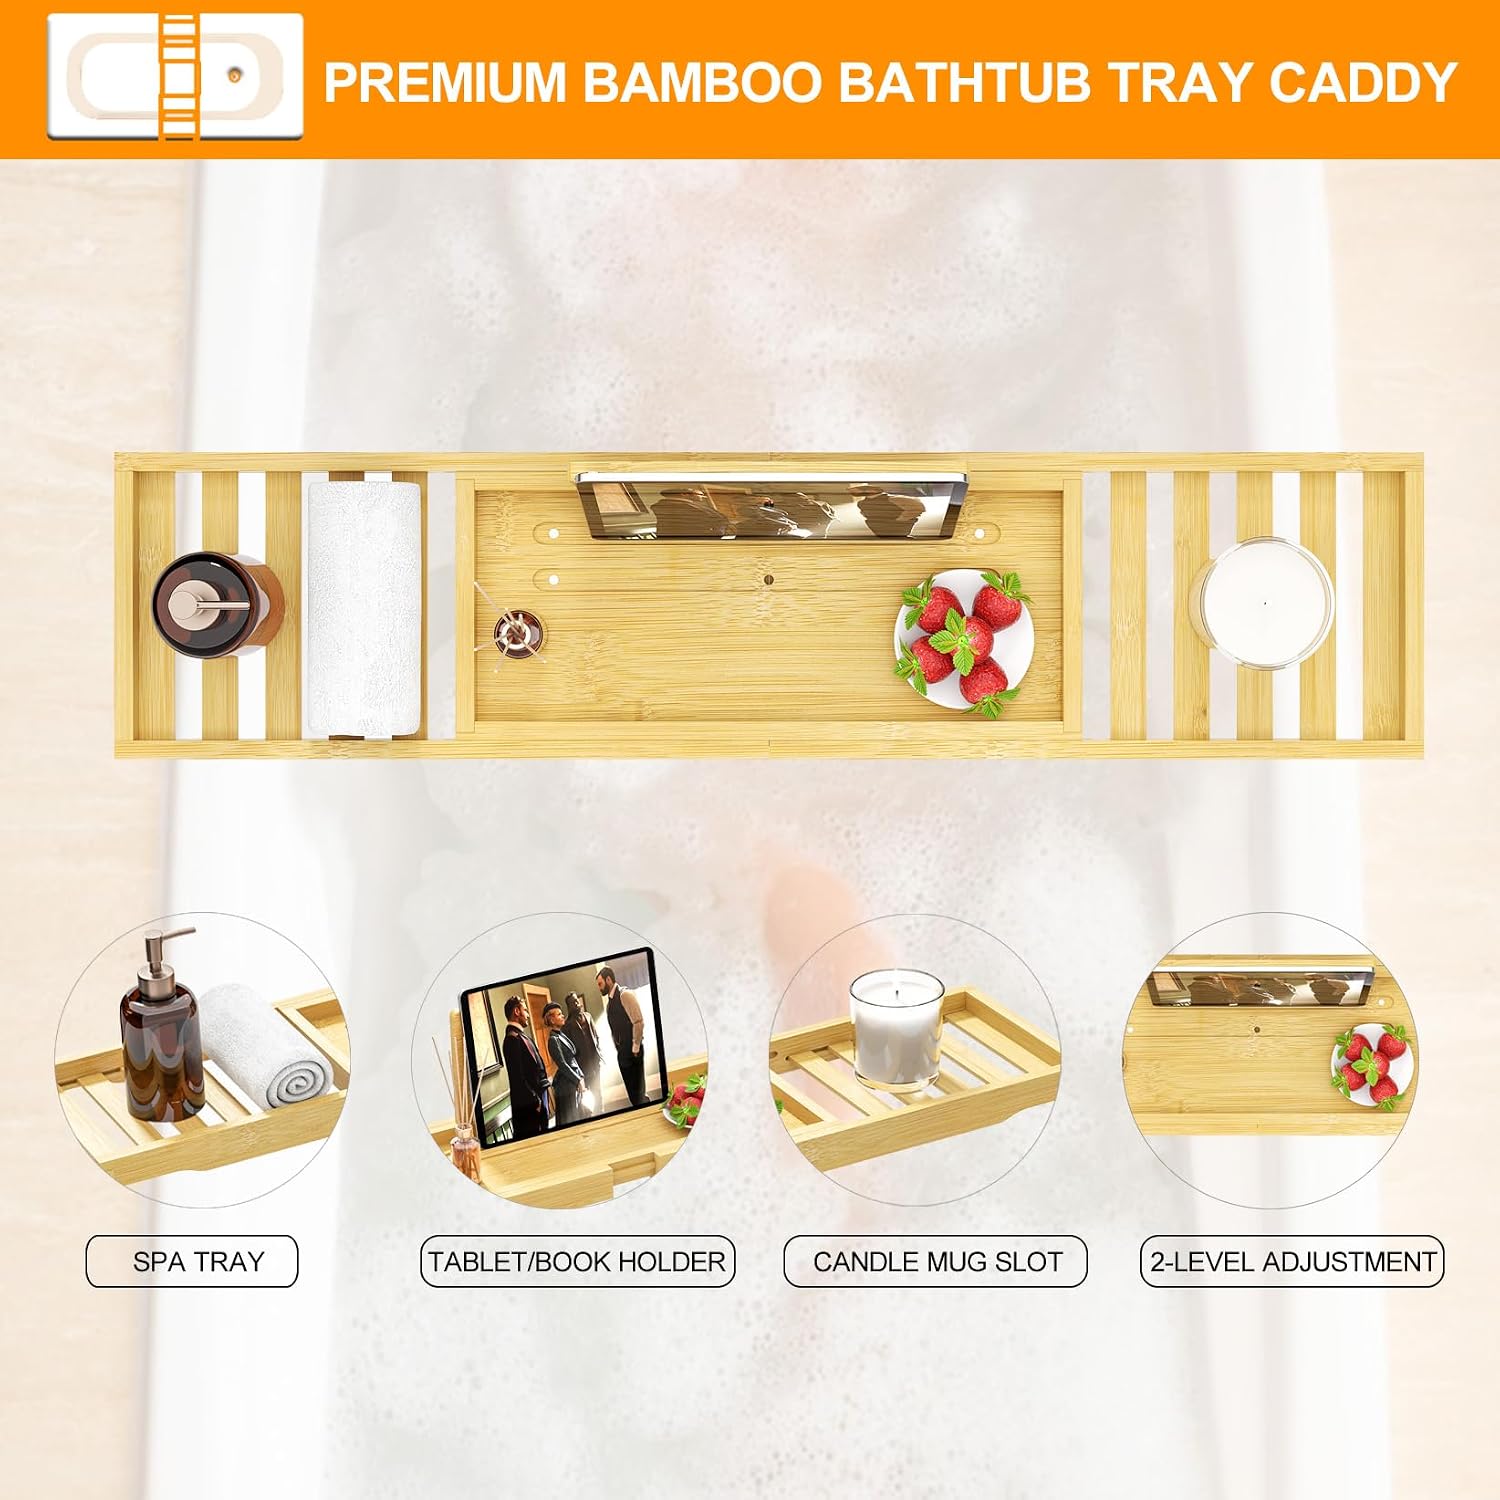
Compare the tub span with the tray minimum and maximum width. A good adjustable tray should include your number inside its usable range rather than barely touching the maximum.
Both ends should rest fully on the rims. The required overlap depends on the tray design and the size of its support pads, so follow the product instructions instead of one universal rule.
Never force a tray beyond its stated range.
Measurement Worksheet
Use this table while measuring. Keep it open beside the product page so each figure has a clear purpose.
| Measurement | Where | Why | Your result |
|---|---|---|---|
| Outside resting span | Outer rim to outer rim | Primary fit number | Write here |
| Left rim contact | Usable support width | Checks stability | Write here |
| Right rim contact | Usable support width | Checks stability | Write here |
| Wall clearance | Wall to support point | Checks blocked ends | Write here |
| Faucet clearance | Tray line to controls | Keeps fixtures usable | Write here |
| Rim height difference | Vertical difference | Checks level | Write here |
Step 9: Read Product Dimensions Correctly
Listings may show overall length, adjustable range, body width, folded size, and holder dimensions. These figures answer different questions.
Overall length describes the footprint. Adjustment range tells you whether the tray can bridge the tub. Body depth affects how much open bathing space remains.
Knowing how to measure tub for bath tray shopping means matching the right tub number to the right product number.
Step 10: Try a Cardboard Template
Cut or fold cardboard to the published tray length. Mark the likely position of end supports, a book stand, drink holder, and raised sections.
Place the template across the dry tub. It will not test strength, but it can reveal blocked controls, poor wall clearance, and an awkward sitting position.
Lift the template when moving it. Sliding any object across the rim can drag grit over the finish.
Built In Tub Notes
Built in and alcove tubs often have one side close to tile. Measure the real support point on that side rather than including decorative counter space that the tray will not touch.
Sealant beads and tile edges can create uneven contact. Check whether the tray feet would sit on the tub itself or on the surround.
A broad deck may offer several possible positions. Measure each useful location and choose the one that keeps fixtures clear.

Freestanding Tub Notes
The widest point of a freestanding tub is not always the best point. The rim may slope or become too narrow there.
Take three span readings around the intended position and compare them. Record the center reading plus one slightly forward and one slightly backward.
For how to measure tub for bath tray placement on a freestanding model, rim contact and level matter as much as total span.
Narrow Rim and No Ledge Tubs
A narrow rim may not support standard end blocks. Measure the usable contact and compare it with the size of the tray feet.
Do not balance a tray on a thin curved edge just because its length reaches both sides.
Use the bathtub tray buying guides for related advice about unusual tub shapes and tray styles.
Tubs Against a Wall
Record the outside span, wall side contact width, wall clearance, and tile height. Check whether the tray can be lowered into place without scraping the wall.
A tight gap may block a wide end even when the final width appears correct.
The bathtub tray questions page advises checking product dimensions and comparing adjustable width with the tub outside width.
Common Measuring Errors
Measuring only the inside opening is a frequent mistake because the tray usually rests on the rims. Letting a flexible tape sag also shortens the reading.
Another mistake is measuring the widest point of a tub but planning to use the tray somewhere narrower.
Write the exact reading before rounding. Rounding too early can hide a close fit or narrow support problem.

Measurement Decision Table
Use this table to decide whether the numbers support a purchase, require another check, or point to a different design.
| What you find | Meaning | Next step |
|---|---|---|
| Span is comfortably inside range | Promising fit | Confirm support feet |
| Span equals maximum limit | Needs review | Ask about stable overlap |
| One rim is narrow or curved | Uncertain support | Compare foot size |
| Wall blocks an extension | Poor position | Move tray or change design |
| Rims are different heights | May rock | Try another position |
| A holder blocks the faucet | Poor layout | Shift and measure again |
Check the Current Product Details
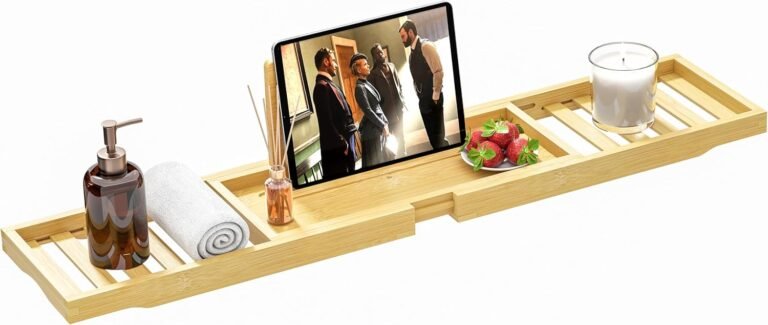
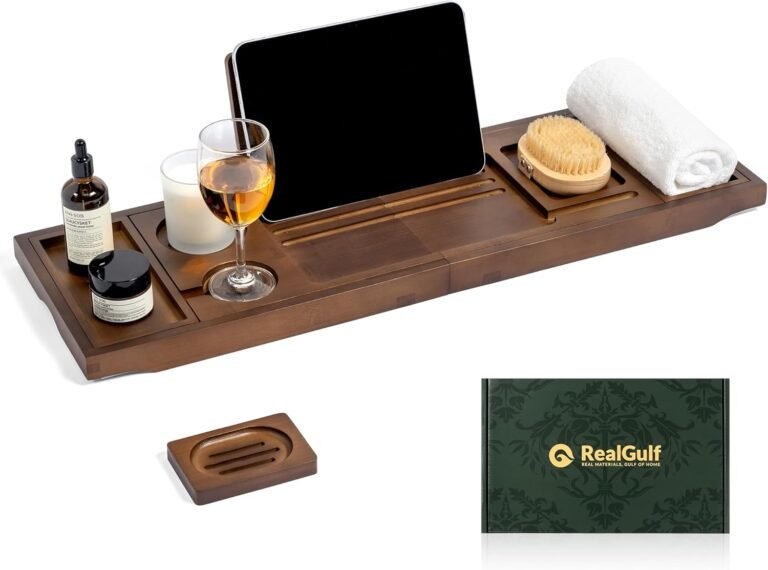
BathtubTray.com currently describes adjustable bamboo trays designed for most standard tubs, with non slip grips and holders for books, tablets, drinks, phones, candles, and bath essentials.
Review the Bathtub Tray design approach for the current focus on adjustable bamboo construction.
Check the bathtub tray shop for current availability and published dimensions.
When to Ask a Sizing Question
Ask when a product page does not show adjustment range, support foot size, total depth, or clearance around raised holders.
Use the contact page for questions about the current range. Include only the measurements needed for the fit question.
A helpful message lists the outside span, left and right contact widths, wall clearance, and the intended tray position.
Final Three Minute Review
Read the measurements aloud before ordering. Confirm the unit and the exact position where each reading was taken.
Check that the product range includes the tub span without depending on the extreme limit. Confirm that the tray will not hit a wall or control.
Review how to measure tub for bath tray fit with three questions: Will both ends rest fully, will the tray sit level, and will every fixture remain usable?
How to measure tub for bath tray fit starts with the exact resting position, not the widest point of the bathtub.
How to measure tub for bath tray clearance includes checking the wall, faucet, shower screen, and nearby controls.
How to measure tub for bath tray support means recording the usable contact width on both rims.
How to measure tub for bath tray placement on a curved tub requires more than one span reading.
How to measure tub for bath tray use on a narrow rim depends on the size of the support feet.
How to measure tub for bath tray sizing is easier when every number is labeled immediately.
How to measure tub for bath tray stability includes checking whether both rim heights are level.
How to measure tub for bath tray shopping means comparing the correct tub number with the correct product dimension.
How to measure tub for bath tray use near a wall requires enough room to lower the tray into place.
How to measure tub for bath tray overlap depends on the tray design and the manufacturer’s instructions.
How to measure tub for bath tray storage should include the closed size as well as the open width.
How to measure tub for bath tray confirmation ends with an empty fit test before any items are added.
Conclusion
Accurate sizing comes from the real support points, not from a standard tub width. Measure the intended position, outside resting span, contact width on both rims, wall clearance, and nearby fixtures.
A good fit should feel settled before the bath begins. The tray should rest fully, remain level, and avoid controls.
Visit the adjustable bathtub tray collection and compare each listed dimension with your worksheet before choosing.
Measurement Notes That Prevent Mistakes
Keep every measurement tied to a physical point. Write short labels such as middle position, wall side contact, or faucet clearance next to each number. Repeat the outside span once before leaving the bathroom. Hold the tape from the same edges and confirm that the second reading matches the first. A small difference can come from tape angle or a curved rim. Photograph the empty rim from above when the shape is difficult to describe. Keep personal items out of the image. A clear picture can help a seller understand contact width and nearby fixtures. Do not add an imaginary safety margin to the tub width. Record the true measurement, then compare it with the product design. Extra length helps only when both
Take Your Measurements to the Next Step
Keep the worksheet nearby while reviewing current designs, adjustment ranges, and support details.
Explore Current DesignsFrequently Asked Questions
How do I measure my bathtub for a bath tray?
Measure straight across at the exact place where the tray will sit, from the outside edge of one supporting rim to the outside edge of the opposite rim. Keep the tape level and record the contact width on each side.
Should I measure the inside or outside width of the tub?
Measure the outside resting span because an across tub tray normally sits on the rims. The inside opening can be a secondary reference but should not replace the support point measurement.
What tools do I need to measure my bathtub?
A rigid tape measure, a phone note or card, and an optional straightedge are enough. A small level can help if the rims appear uneven.
What is the standard width of a bathtub?
Bathtub sizes vary by style and installation. A common size should never replace a direct measurement at the position where the tray will be used.
How much overlap should a bath tray have?
Both ends should rest fully and securely. The correct overlap depends on the tray design, support feet, and rim shape, so follow the manufacturer guidance.
How do I measure a freestanding bathtub for a bath tray?
Measure at the intended position, then repeat a few inches forward and backward. Record contact width and check that both rims meet a straightedge evenly.
Can I use a bath tray on a tub with narrow edges?
Possibly, but the available contact must be wide enough for the tray support feet. Do not balance a tray on a thin curved edge.
What if my bathtub is against a wall?
Measure the outside span, wall side contact width, wall clearance, and any tile trim. Confirm that the tray can sit level without rubbing.
Should I choose an adjustable bath tray?
An adjustable design can fit a range of widths, but your tub span must fall inside the published range. Check support and storage as well.
What should I do if my measurement falls between two tray sizes?
Choose only a tray whose published range includes your actual span and whose ends can rest securely. Do not select a tray that is too short.